
Introduction:
Friendship bracelets have long been cherished tokens of love and companionship. One popular style that holds a special place in our hearts is the heart friendship bracelet. These bracelets not only showcase our skills in creating intricate designs but also serve as a symbol of the deep connections we share with our friends. In this article, we will guide you through the process of making heart friendship bracelets, exploring various techniques, patterns, and customization options along the way. Divided into five parts, each containing two levels of content, let’s embark on a journey of creativity and friendship as we learn how to make heart friendship bracelets.
Part 1: Materials and Getting Started
Level 1: Gather Your Supplies
- String Selection: Choose embroidery floss, yarn, or thread in colors that reflect your style or your friends’ preferences. Select colors that complement each other and evoke feelings of love and friendship, such as shades of pink, red, or purple.
- Essential Tools: Prepare scissors, tape or clips to secure the bracelet while working, a ruler or measuring tape to determine the desired length, and a needle if you prefer using it for more intricate patterns.
Level 2: Understanding Basic Knots
- Forward Knot: This is a foundational knot used in most friendship bracelet patterns. Cross the left string over the right, forming a loop, and pull the end of the left string through the loop. Tighten the knot by pulling both strings in opposite directions.
- Backward Knot: Similar to the forward knot, but with the right string crossing over the left. Create a loop with the right string, pull the end of the right string through the loop, and tighten the knot. Practice these knots until you feel comfortable before moving on to more intricate patterns.

Part 2: Creating the Foundation
Level 1: Starting with a Center String
- Choose a Center Color: Select a color that you want to incorporate into the central heart design. This color will be the base string from which the heart shape will emerge.
- Measuring and Anchoring: Cut the center string to a length that wraps comfortably around the wrist. Double it up and fold it in half to create a loop, forming the starting point of your bracelet.
Level 2: Adding Side Strings
- String Selection: Choose another color or colors to create the outer edges of the heart. Cut two or more strands, depending on the desired thickness of the bracelet.
- Attaching Side Strings: Place the folded center string on a flat surface, and align the side strings on each side of the center string. Secure the top of the bracelet with a clip, tape, or by tying a temporary knot to hold the strings in place.
Part 3: Braiding and Creating the Heart Shape
Level 1: Braiding Techniques
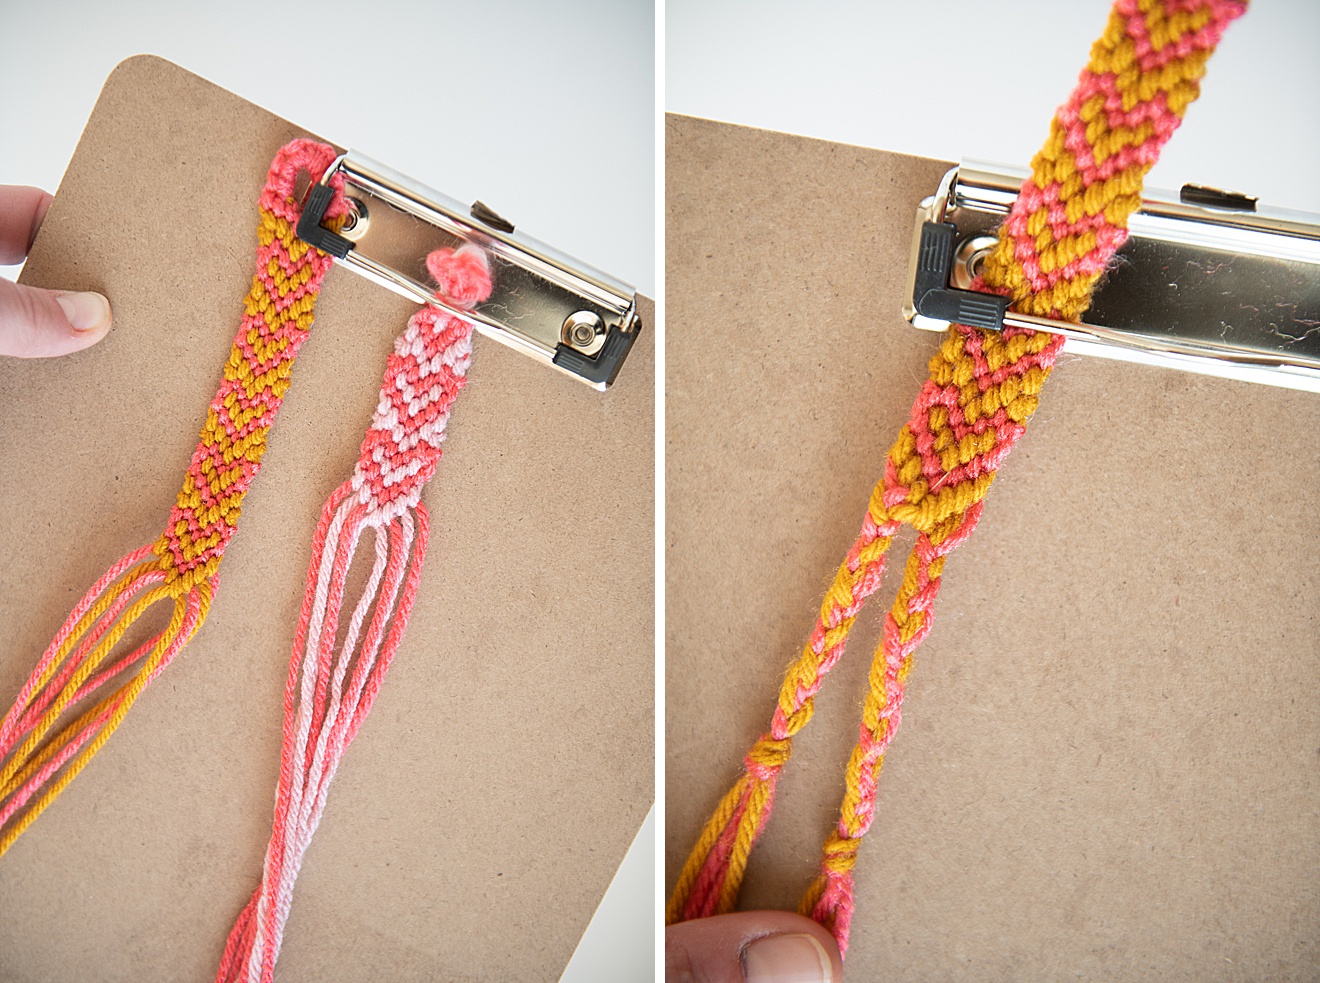
- Simple Braiding: Divide the strings into two groups (left and right). Cross the leftmost string over the center strings and bring it under the rightmost string. Repeat the process, alternating sides until you achieve the desired length.
- Adding Knots: Create knots using the forward or backward knot technique by pairing the outermost strings. Make sure to keep the knots loose enough to maintain the bracelet’s flexibility and comfort.
Level 2: Forming the Heart Shape
- Patterned Knots: Introduce patterned knots to shape the bracelet into a heart. Utilize different knotting techniques, such as chevron or diagonal patterns, to create the heart outline.
- Adjusting Tension: Regularly check the tightness of the knots and adjust as needed to maintain a consistent and even shape. Be mindful not to make the knots too tight, as it may distort the heart outline.
Part 4: Customizing the Design
Level 1: Color Combinations
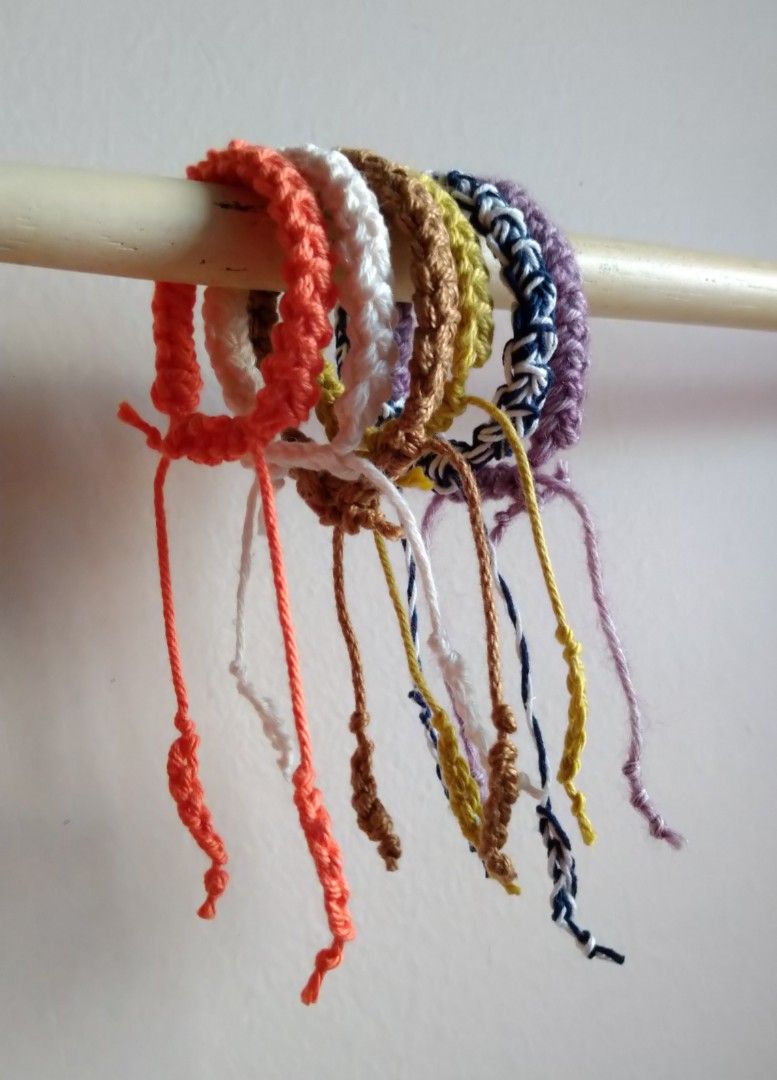
- Gradient Effect: Use different shades of a single color to create a beautiful gradient effect for the heart shape. Start with a lighter shade at the center and gradually transition to a darker hue along the edges.
- Contrasting Colors: Select complementary or contrasting colors for the center and side strings to enhance the visibility and impact of the heart design.
Level 2: Embellishments and Embroidery
- Beads and Charms: Add beads or small charms to the bracelet to create dimension and further personalize your design. Insert them onto individual strings before tying knots.
- Embroidery and Cross-Stitch: Incorporate embroidery or cross-stitch techniques within the heart design for intricate detailing or lettering. Use a needle and thread of contrasting colors to create beautiful accents.

Part 5: Finishing and Gifting
Level 1: Finalizing the Bracelet
- Ending the Bracelet: Once the desired length is reached, secure the end with a temporary knot. Gently slidethe bracelet off the anchor point and tie a sturdy knot to hold it in place.
- Adjusting Sizing: To ensure a comfortable fit, measure the bracelet against the wrist and leave extra length for tying knots or attaching adjustable closures.
Level 2: Sharing Heartfelt Tokens
- Meaningful Gift Giving: Heart friendship bracelets make thoughtful and meaningful gifts for friends, family, or loved ones. Present them to celebrate special occasions, express gratitude, or simply as a symbol of your lasting bond.
- Matching Bracelets: Create identical or complementary heart bracelets for shared friendships, allowing everyone to wear a reminder of the special connection you share.
Conclusion:
Making heart friendship bracelets is not only a fun and creative activity but also a beautiful way to express love and celebrate the bonds we share with friends. With patience, practice, and a little creativity, you can craft unique heart bracelets that symbolize your affection and commemorate your friendship. So gather your materials, master the knots, and let your heart be your guide as you embark on this wonderful journey of crafting and friendship.
Heart friendship bracelets are not only beautiful accessories but also powerful symbols of love, friendship, and connection. By learning the art of creating these bracelets and caring for them properly, you can ensure they remain cherished keepsakes that evoke fond memories for years to come. Whether you make heart friendship bracelets as gifts or wear them to celebrate your bonds, embrace the creativity, love, and joy that they represent. These bracelets serve as a tangible reminder of the special people in our lives, and the memories shared through the art of crafting and friendship.